project description
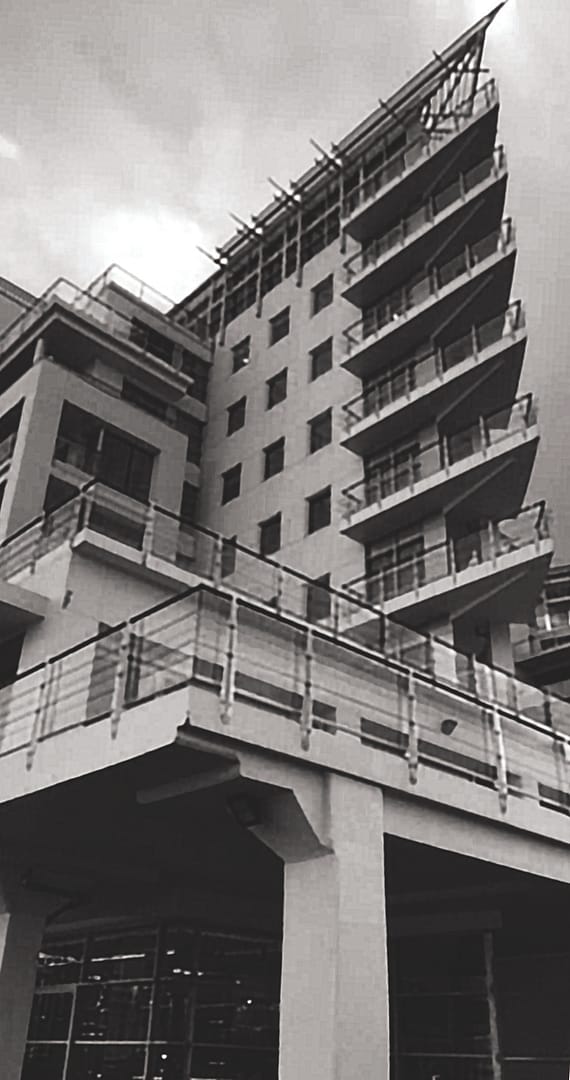
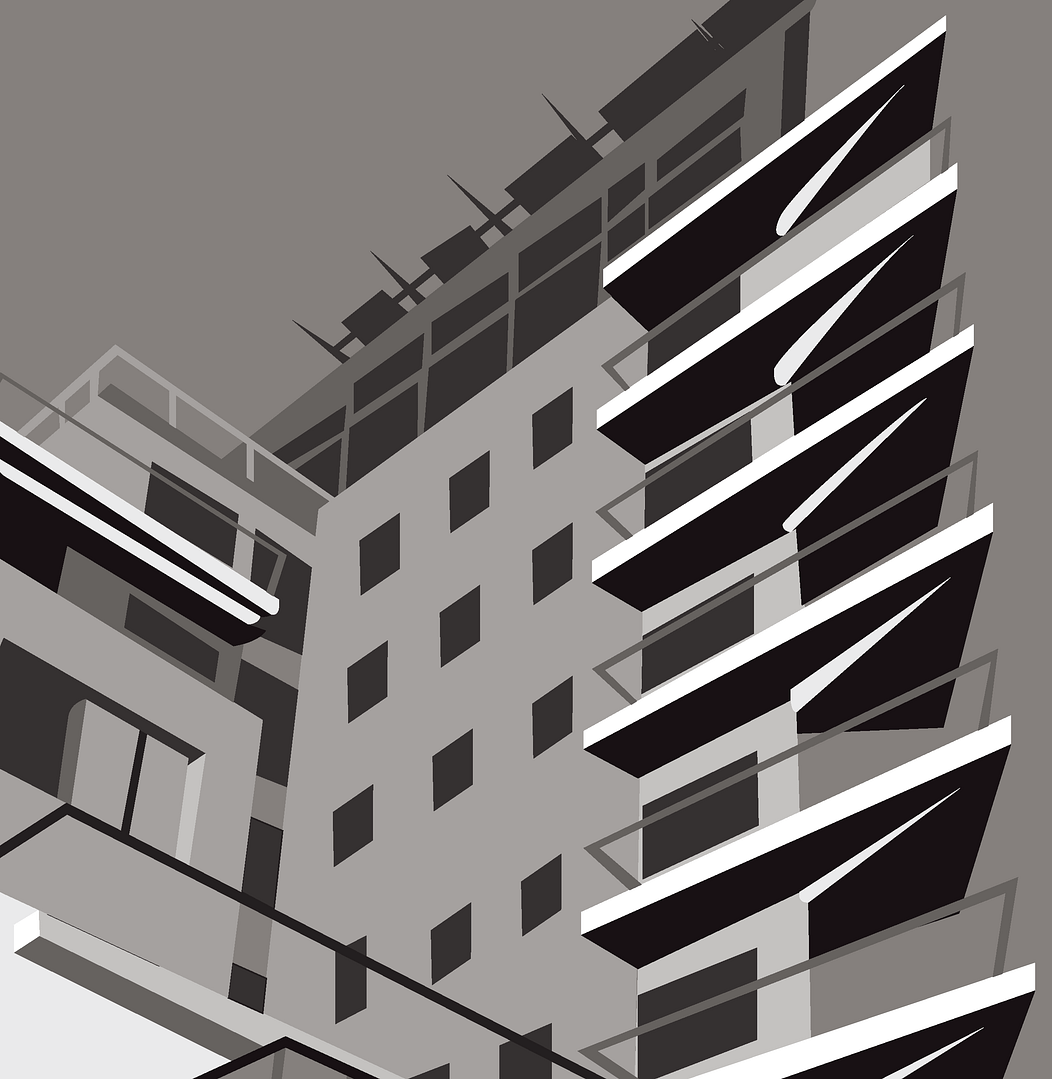
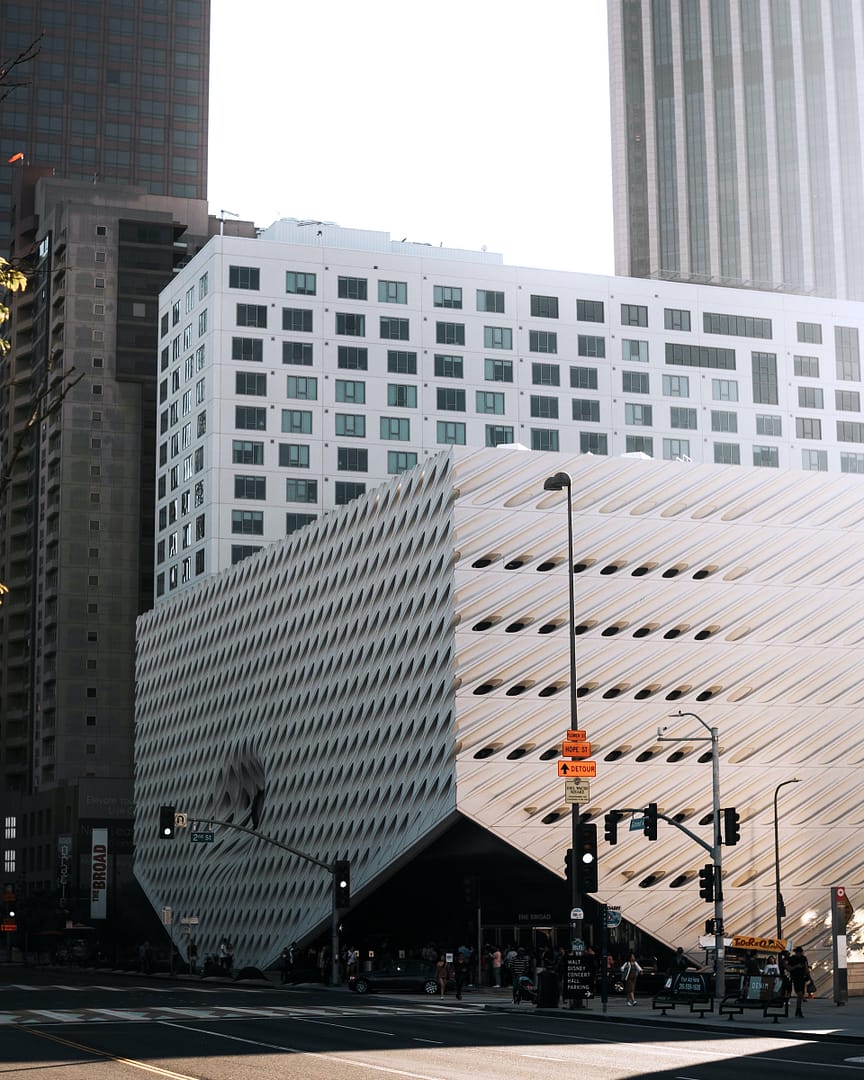
The goal of this project was to turn a black-and-white photo into a composition using limited values. To do this, the textbook recommended breaking up the photo into its basic shapes. I decided to use a photo that I took of a building in New Zealand with an interesting design.
I started by adjusting the contrast and levels of the photo then adding a black and white filter in Photoshop. When I was happy with the photo and its contrast, I imported the photo into Illustrator to use it as a template to map out the basic shapes in the photo. I initially traced all the shapes I wanted to incorporate with a black stroke and no fill. After tracing all portions of the photo, I added a fill to each shape with the value I wanted to use.
To complete the project, I used the pen tool, eyedropper tool, fill and stroke tool, align tool, and clipping mask tool the most. The pen tool was by far the most used tool for this project. I used the pen tool to trace each shape from the photo template I wanted to use. I used the eyedropper tool to take swatches from the original black-and-white photo to choose the values I wanted to use in the composition. With the fill and stroke tool, I adjusted all the vectors’ fill with the value I wanted to use. With the align tool, I aligned the windows in the building because when I initially traced them from reference, they did not look properly aligned. With the clipping mask, I masked the portions of the composition that I no longer wanted to use for the project final.
